Free GPT Image 2.5 Generator Online

Begin with the image you want to make, not a complicated editor.

Key Features of GPT Image 2.5 Free

Describe the image, generate, review, and continue into the next creative change.

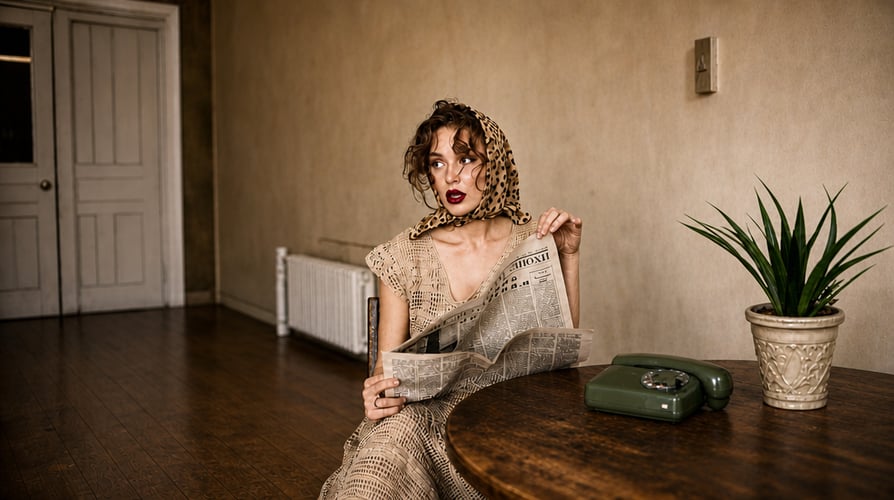
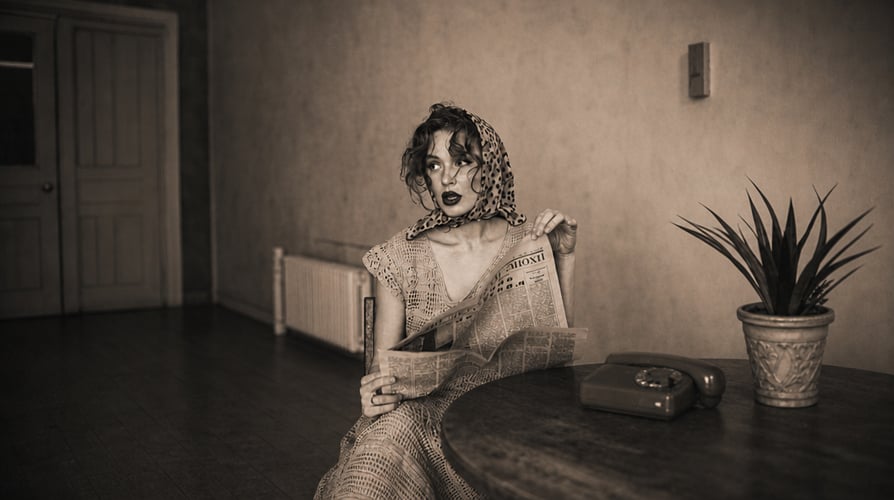
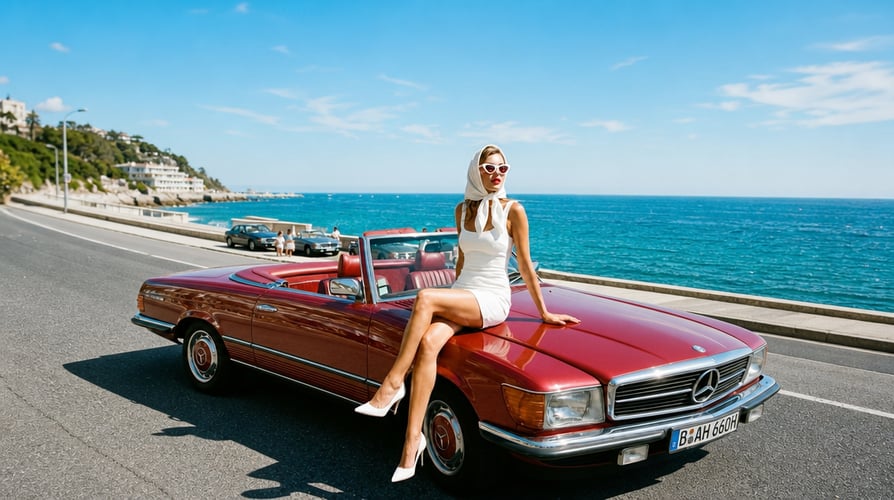
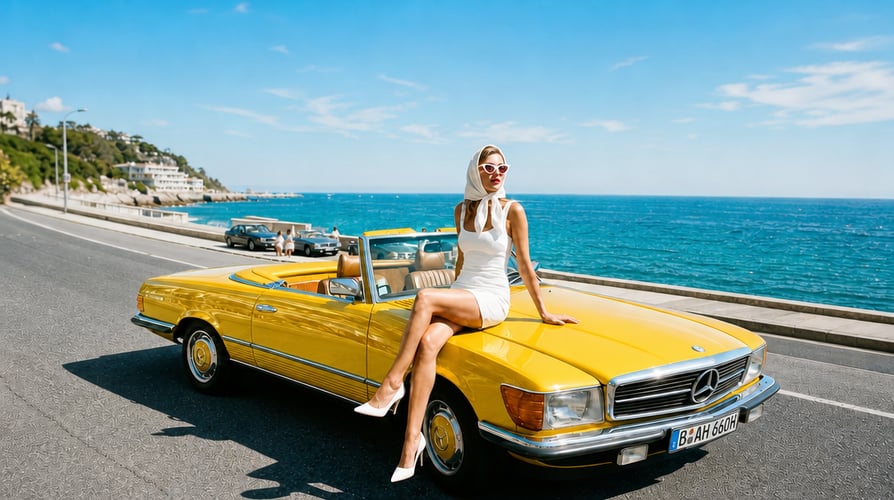
Prompt-Led Image Creation afterPrompt-Led Image Creation beforeBeforeAfter

Prompt-Led Image Creation

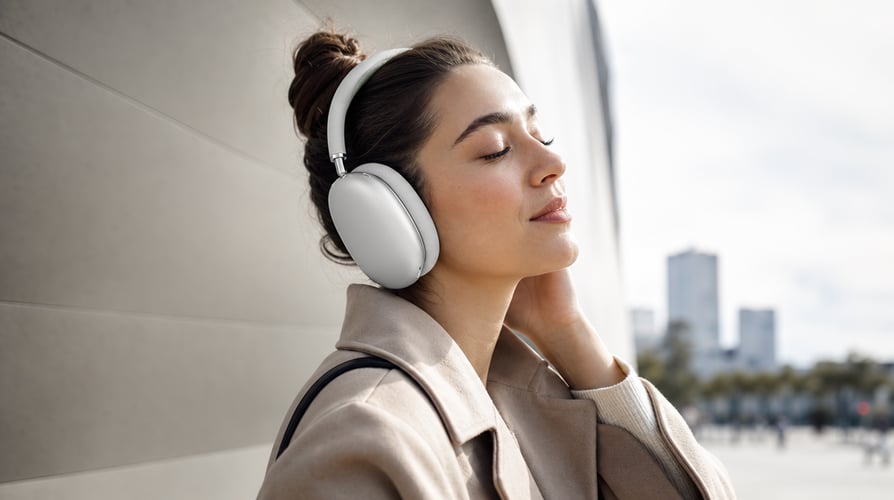
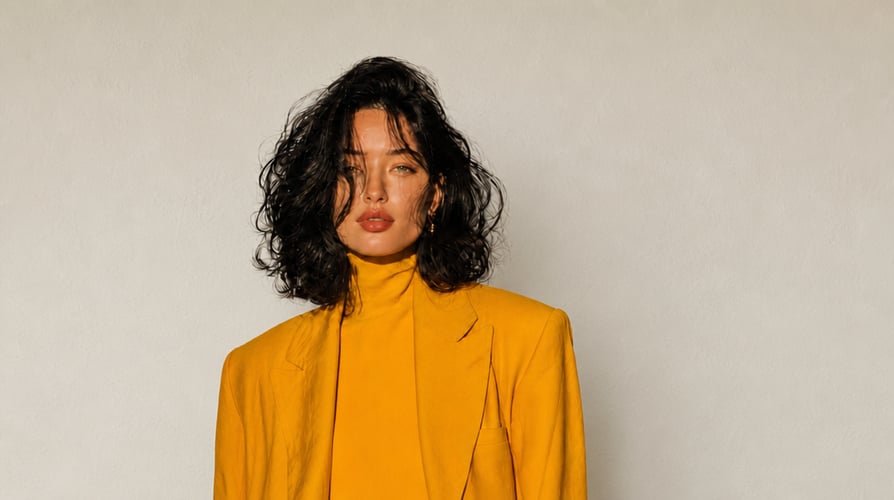
Write what you want to see in ordinary language. You can describe people, objects, environments, colors, composition, visual style, and small scene details in the same prompt. Use short, concrete phrases for the elements that must be present. If the first image is close but not quite right, adjust the description and generate again instead of trying to solve every design choice in a single attempt.
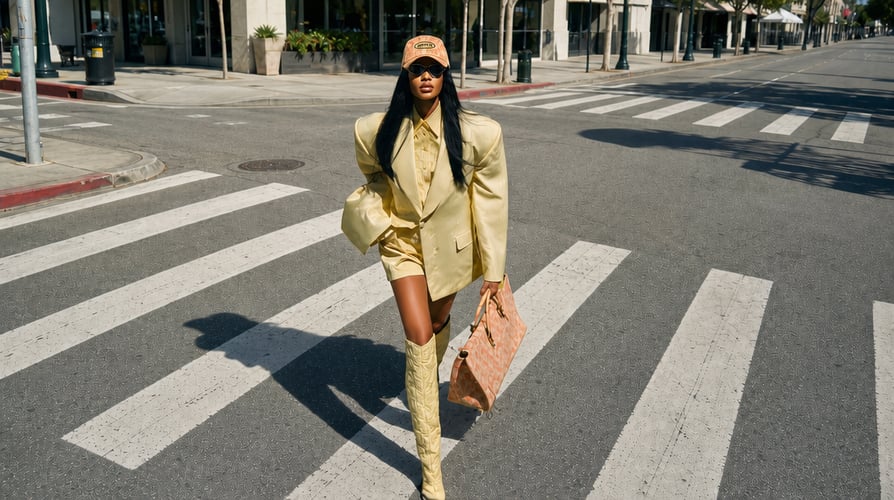
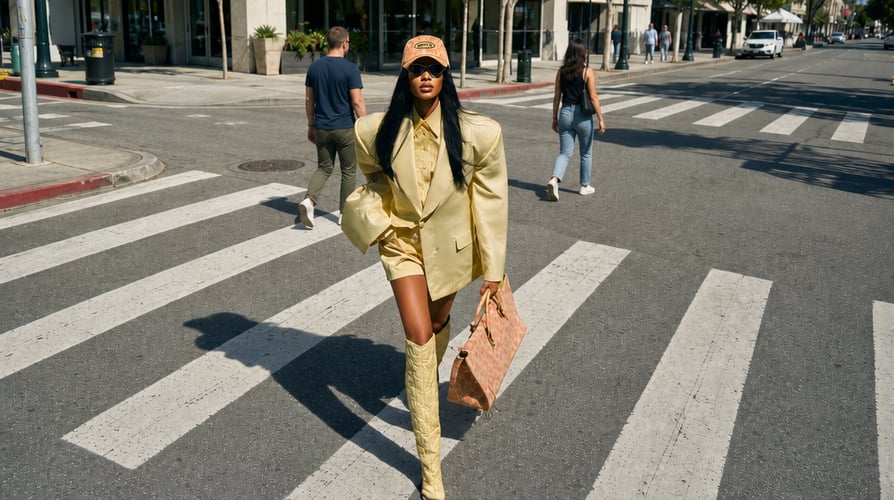
Reference Image Input afterReference Image Input beforeBeforeAfter

Reference Image Input

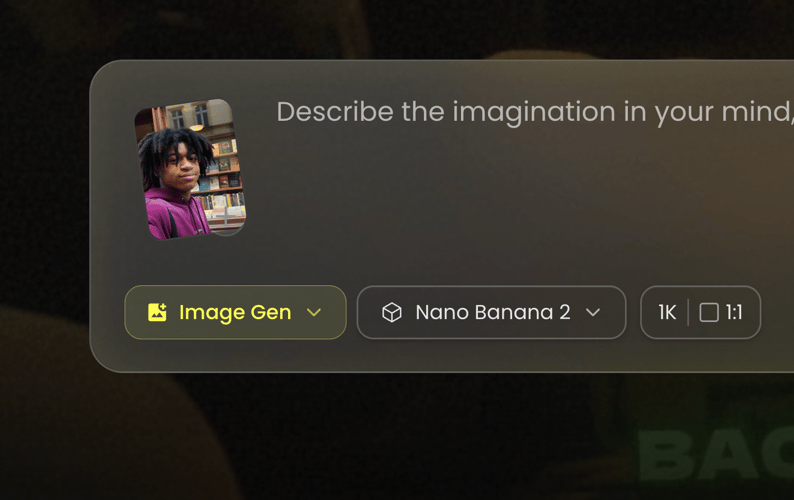
Buzzy includes a reference-image option in the image-generation entry. Add an image when you want the starting brief to include a particular subject, photo, scene, or visual cue. Pair the upload with a prompt that explains what should change or what direction you want to explore. A reference image supplies context; the written prompt tells the workflow what you want to do with that context.

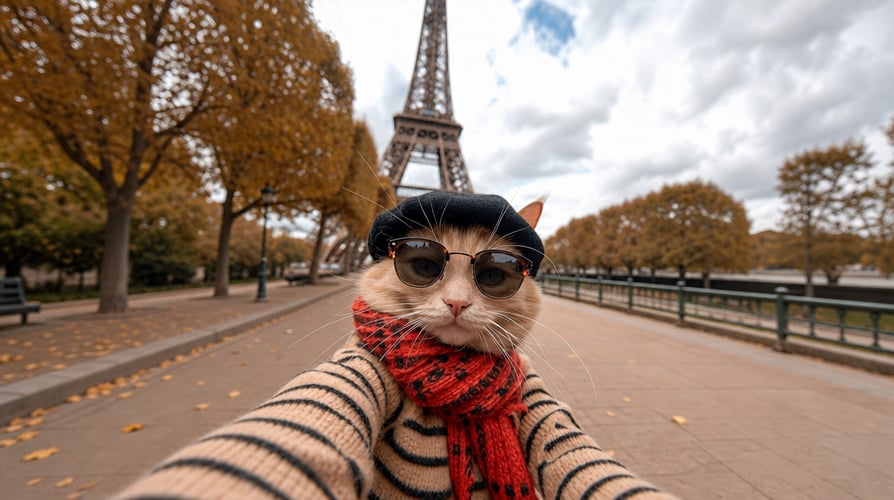
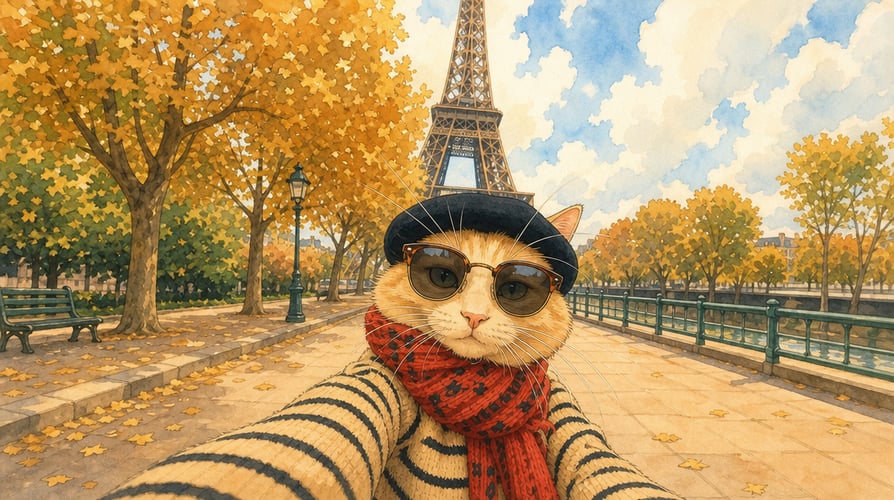
Generate, Review, and Refine afterGenerate, Review, and Refine beforeBeforeAfter

Generate, Review, and Refine

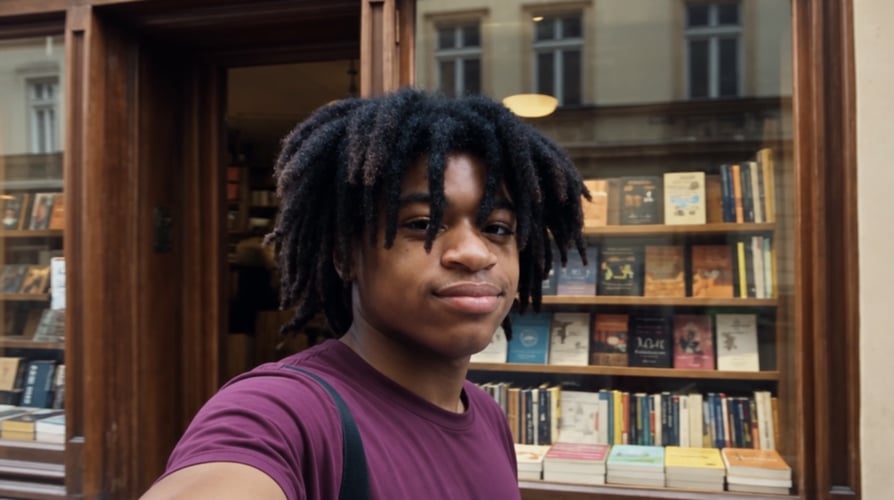
Image work often develops over several passes. After you generate with GPT Image 2.5 Free, review the result against the initial brief. Note the one or two changes that matter most, such as a different background, a simpler layout, a new color direction, or a revised subject detail. Then continue with a focused prompt or open an editing path. This approach makes iteration easier to follow and keeps the next request specific.

Pair the Upload with a Specific Edit Request afterPair the Upload with a Specific Edit Request beforeBeforeAfter

Pair the Upload with a Specific Edit Request

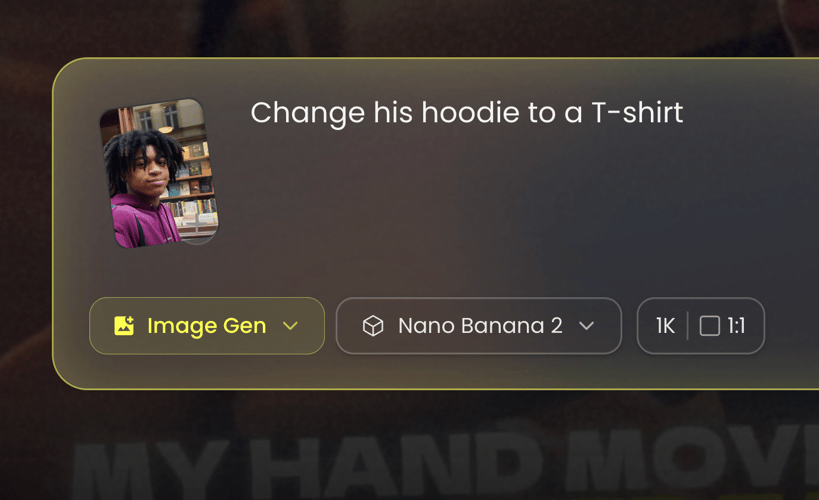
Do not leave the intended change implicit. Instead of writing “make it better,” describe a visible task: “remove the sign behind the subject,” “place the product on a plain studio surface,” or “extend the background above the skyline.” For an image-to-image concept, GPT Image 2.5 Free gives you a starting visual and a written instruction in the same workflow. Review the result before making the next request, so each additional change remains easy to assess.

How to Create Images with an AI Image Generator

Set the workspace, add direction, then generate and refine.

Choose your starting direction01

Choose Your Starting Direction

Open Image Gen and select GPT Image 2.5 Flare. Decide whether your starting point is text only or an uploaded reference image. Before writing, identify the image’s purpose: a product concept, a campaign visual, a portrait, an illustration, a graphic, or a personal creative experiment. That decision determines which details belong in the prompt.

Write the prompt or add a reference02

Write the Prompt or Add a Reference

Add the clearest version of the brief to the prompt field. Lead with the main subject, then describe the setting, visual style, composition, and important details. If you upload a reference image, say what you want to alter or develop rather than assuming the desired change is obvious. Use the visible settings shown in the workspace when you want the 1k and 1:1 options for the initial version.

Generate and continue the edit03

Generate and Continue the Edit

Generate the image, then compare it with the brief. You can make another prompt-led pass or move into an editing action when the next task is to change a specific element. GPT Image 2.5 Free is most useful as a continuing workflow: create a starting image, identify the next visual decision, and give that decision its own prompt.

AI Image Generator Editing Tools

After you create or upload an image, choose the prompt-led tool path that matches the actual change you need.

  • AI Object Remover

    Use an object-removal request when a person, object, piece of text, or distracting detail no longer belongs in the image. Name the item and where it appears.

  • AI Background Remover

    Choose background removal when you need the subject separated from its current setting.

  • AI Background Generator

    Choose a generated background when you want to place the subject in a different scene. Describe the environment you need, such as a plain studio setting, an outdoor location, a graphic color field, or an illustrated world.

  • AI Photo Enhancer

    For an older, low-resolution, soft, or noisy image, start with the image you want to work on and use a prompt that states the intended improvement.

  • AI Image Upscaler

    Use the image-upscaler option when a low-resolution image needs a clearer next version. Keep the request centered on the photo itself rather than combining it with unrelated scene changes.

  • AI Style Transfer

    Move an image toward a different visual treatment, such as illustration, anime, 3D, editorial, or cinematic photography. Describe the desired visual change and review the result in context.

  • AI Face Swap

    For a face-swap request, describe the desired visual change and review the result in context. When a pose, subject, or expression matters to the concept, say so in the prompt.

  • AI Image Extender

    Use image extension when the original frame does not leave enough room for a new composition. Explain which edge should continue and what should appear beyond it.

Image Ideas for Everyday Creative Work

Begin with a prompt, a reference image, or an existing image that needs a change. Let the intended use case shape the prompt from the beginning.

Product Images and Packaging Concepts afterProduct Images and Packaging Concepts before

Product Images and Packaging Concepts

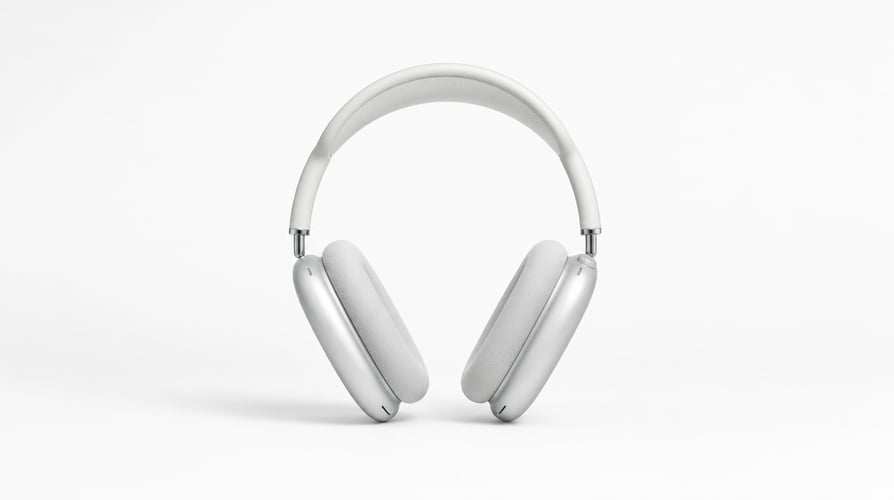
Create a product visual before a launch page, presentation, catalog layout, or advertising draft is fully defined. Describe the item, its setting, the intended surface, supporting props, and the visual mood. If you have a source product photo, upload it as a reference and specify the background, layout, or contextual change. Use the result to decide what the next product or packaging concept should explore.

Marketing and Ad Visuals afterMarketing and Ad Visuals before

Marketing and Ad Visuals

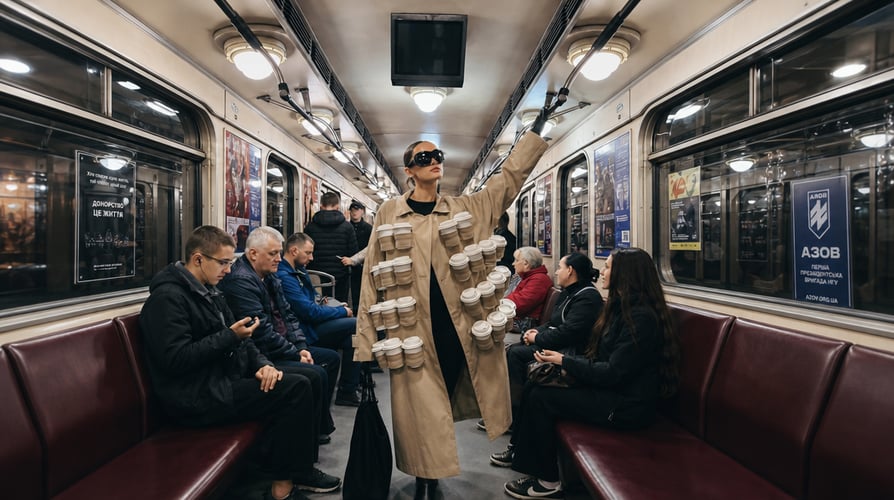
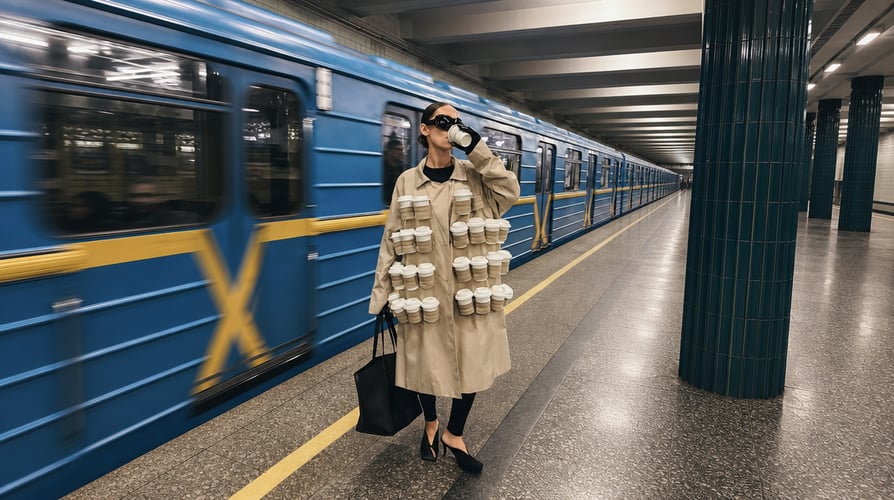
For an ad concept, start with the message and format. Name the main object or person, the action, mood, color direction, and room needed for a headline or callout. A focused prompt makes it simpler to revise one part of the visual later. You can move from a first social-media concept to another version with a different setting, product treatment, or graphic direction without rebuilding the full brief from scratch.

Photos, Portraits, and Headshots afterPhotos, Portraits, and Headshots before

Photos, Portraits, and Headshots

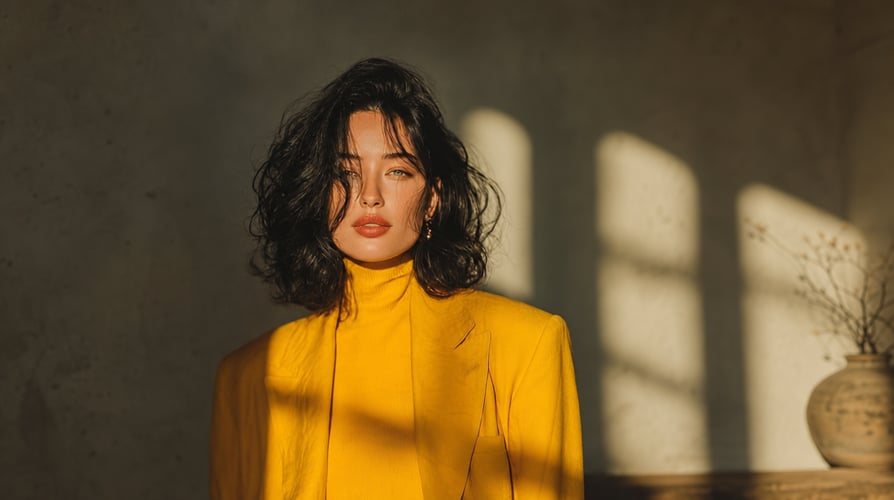
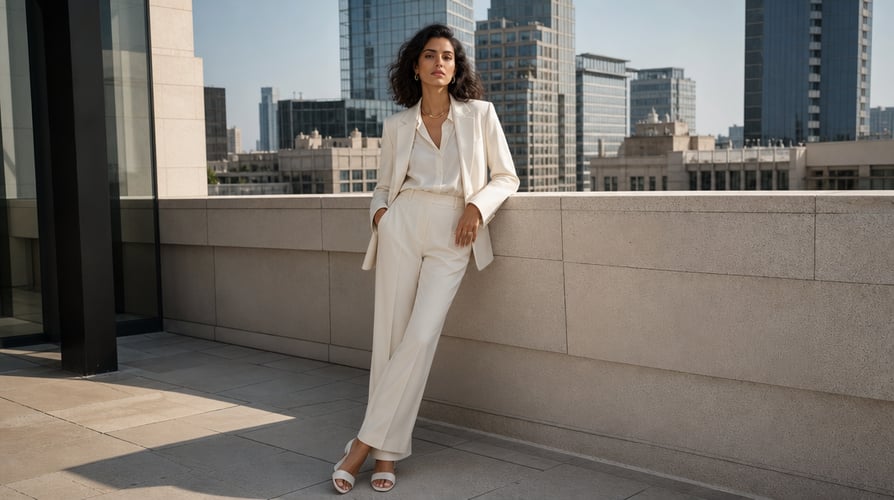
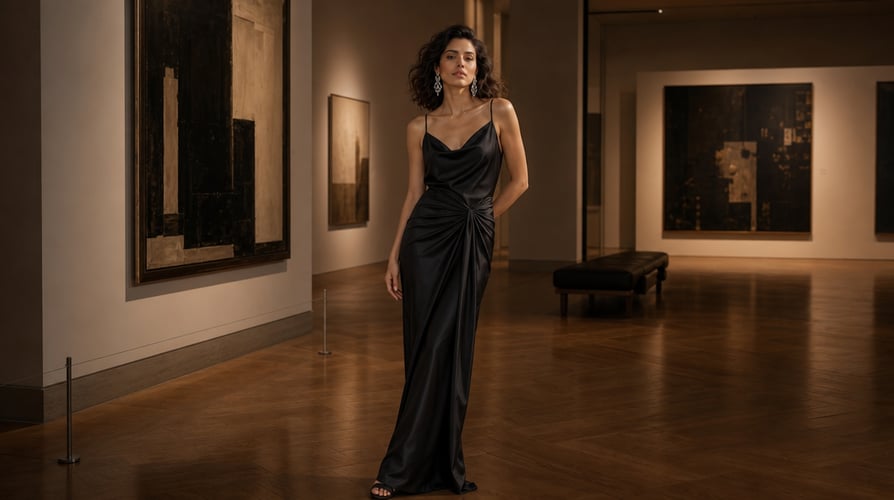
Use a photo or portrait as a starting image when you want to explore a new scene, background, outfit, lighting direction, or visual style. State what must remain central to the concept, then name the requested change. The image-editor paths also let you continue with detail-oriented tasks such as object removal, background work, enhancement, upscaling, style transfer, face swap, or image extension.

Visual Concepts, Covers, and Boards afterVisual Concepts, Covers, and Boards before

Visual Concepts, Covers, and Boards

A concept image can help you articulate a story, aesthetic, campaign, presentation, or creative direction. Make the prompt purposeful: define the subject, setting, palette, visual style, and composition. For a storyboard or mood board, list the scenes, objects, or themes that should belong together. With GPT Image 2.5 Free, you can make a first visual direction, identify the missing elements, and keep iterating with concise prompts.

Get inspirations

Explore More Buzzy Image Model Options and Tools

Browse Buzzy Models, GPT Image 2, and Nano Banana 2 when your next project calls for a different model or workflow.

Seedance 2.5
Cinematic 4K, consistent shots
Try it
Agentic Canvas
Agent-driven node canvas
Try it
3D Director by GPT-6 Astra
AI-directed multi-shot control
Try it
Seedance 2.0
Motion-driven video creation
Try it
Google Omni
Cinematic video generation
Try it
Kling
High-fidelity physics simulation
Try it
Runway
Next-gen creative video tools
Try it
Nano Banana 2
Lightweight video synthesis
Try it
Veo 3.1
Google's advanced video generation
Try it
GPT Image 2
Photorealistic image generation
Try it
Hailuo
Fast and expressive video drafting
Try it
Wan
Open-source state-of-the-art video model
Try it
Pixverse
Stylized and dynamic video generation
Try it

GPT Image 2.5 Free FAQ

Answers about starting, generating, editing, and exploring image tools in Buzzy.

GPT Image 2.5 Free is the Buzzy page for starting an image-generation workflow with the visible GPT Image 2.5 Flare selection. In the Image Gen workspace, you can write a prompt, choose the displayed settings, optionally add a reference image, and generate a starting image. The page also connects to Buzzy’s prompt-led image-editing actions for continued work.

Open the Buzzy image-generation workspace, select Image Gen and GPT Image 2.5 Flare, then write a prompt that states the subject and visual direction. You can add a reference image before generating. After you review the result, refine the prompt or continue with a relevant image-editing action. The most useful next step is the one that corresponds to a specific change you can describe.

Yes. GPT Image 2.5 Free can lead into Buzzy’s image-editing workflow. Available paths include removing or replacing an object, removing or generating a background, enhancing a photo, upscaling an image, transferring a style, swapping a face, and extending an image. State the change you need in the prompt, review the result, and use another focused request if you want to continue.

Yes. The Buzzy entry includes a reference-image input. Upload an image when a photo, subject, composition, or visual cue should help guide your starting brief. Add a written prompt that explains the requested direction or edit. The upload provides visual context, while the prompt identifies the change or image idea you want to generate.

You can browse the Buzzy Models page or visit the related GPT Image 2 and Nano Banana 2 pages linked above. Use those pages to discover other image workflows in Buzzy. If your task is to generate with GPT Image 2.5 Flare, return to the GPT Image 2.5 Free workspace, enter a prompt, add a reference image if needed, and begin the next iteration.

The workspace shows GPT Image 2.5 Flare as the model selection along with visible 1k size and 1:1 aspect ratio options. Use those displayed settings when they fit the brief.

Buzzy’s prompt-led image-editing paths include object removal or replacement, background removal or generation, photo enhancement, image upscaling, style transfer, face swap, and image extension.

Name the main subject first, then add the scene or setting, visual treatment, composition, and a few details that materially affect the result. Keep the first version readable, review the image, and refine the brief on the next pass.

Create Your Next Image with Buzzy

Start with one clear image decision: the subject you need, the setting it belongs in, and the change or style you want to explore.