
 BeforeAfter
Explore Strong Visual Directions
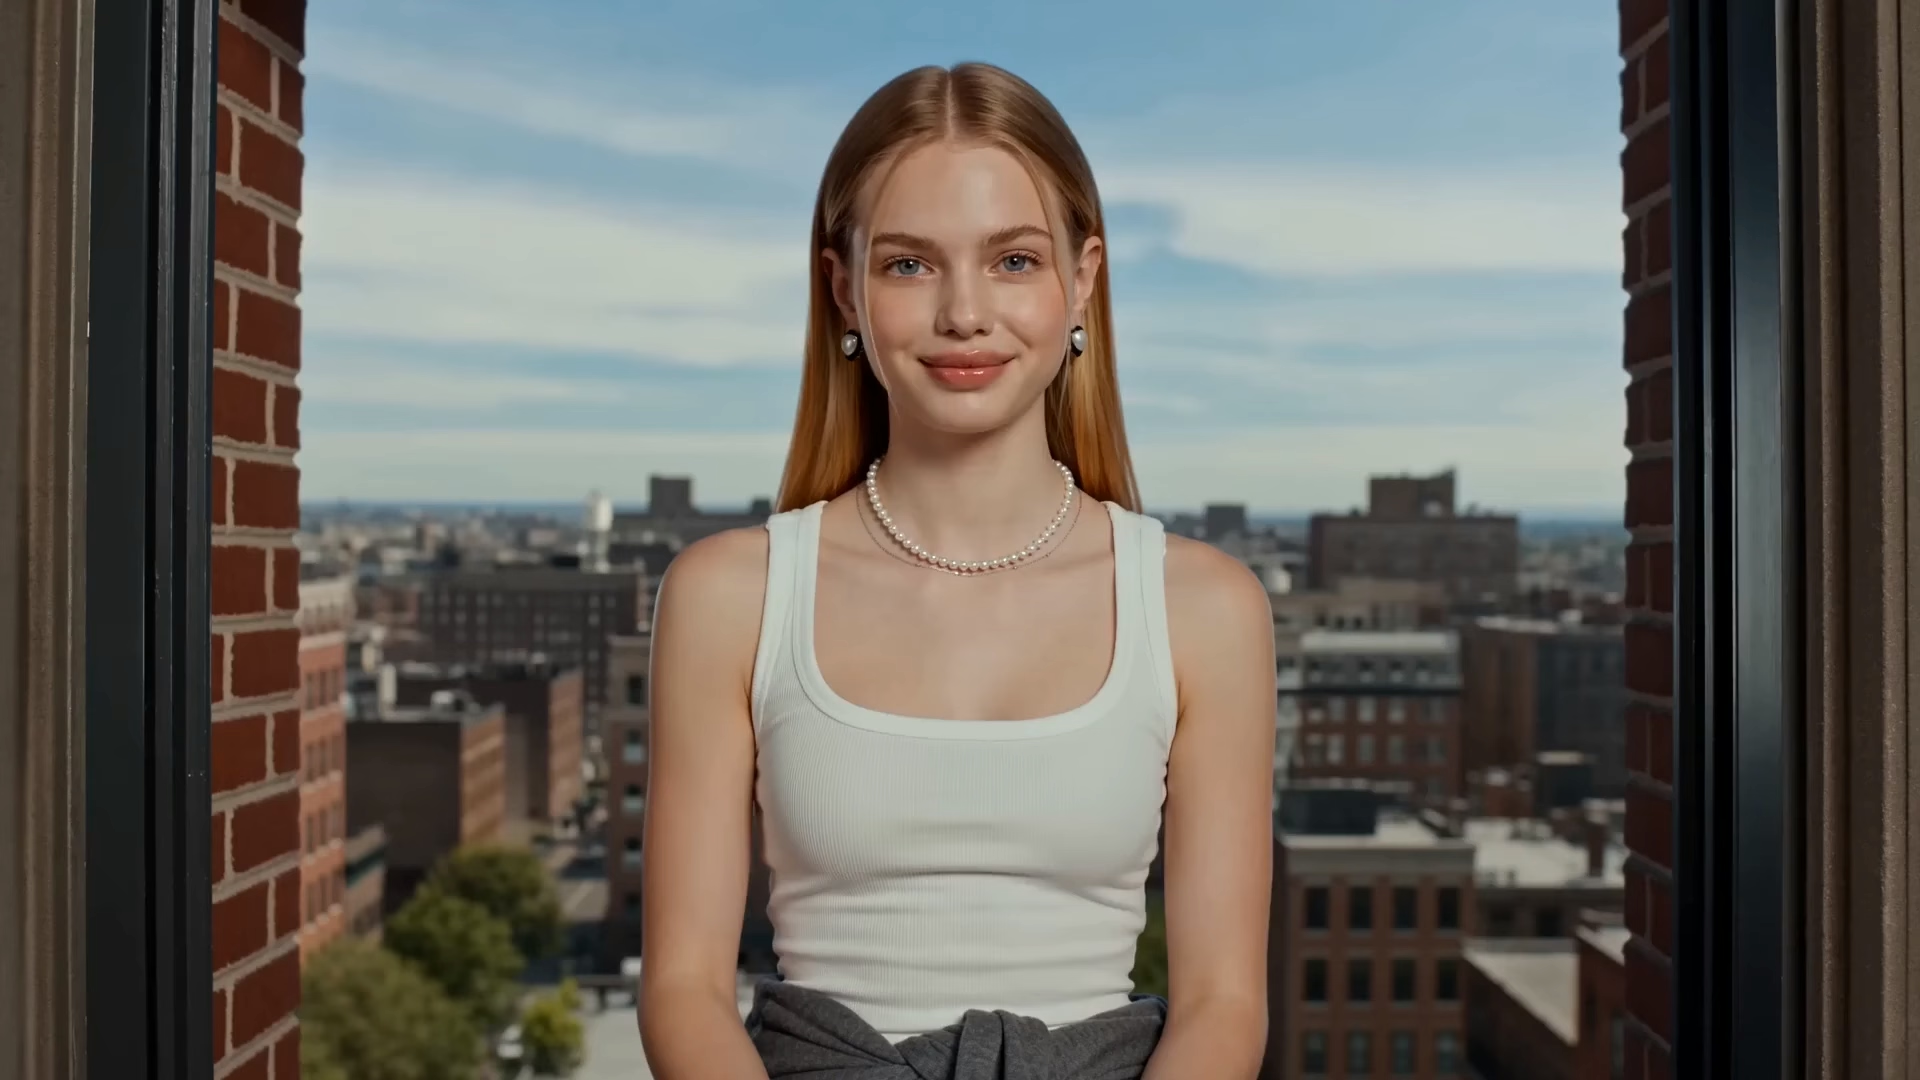
Develop cinematic scenes, editorial concepts, imaginative worlds, and design treatments with clear direction for subject, setting, composition, and mood.
Create distinctive images from prompts and references, refine the frame, then continue it into motion.
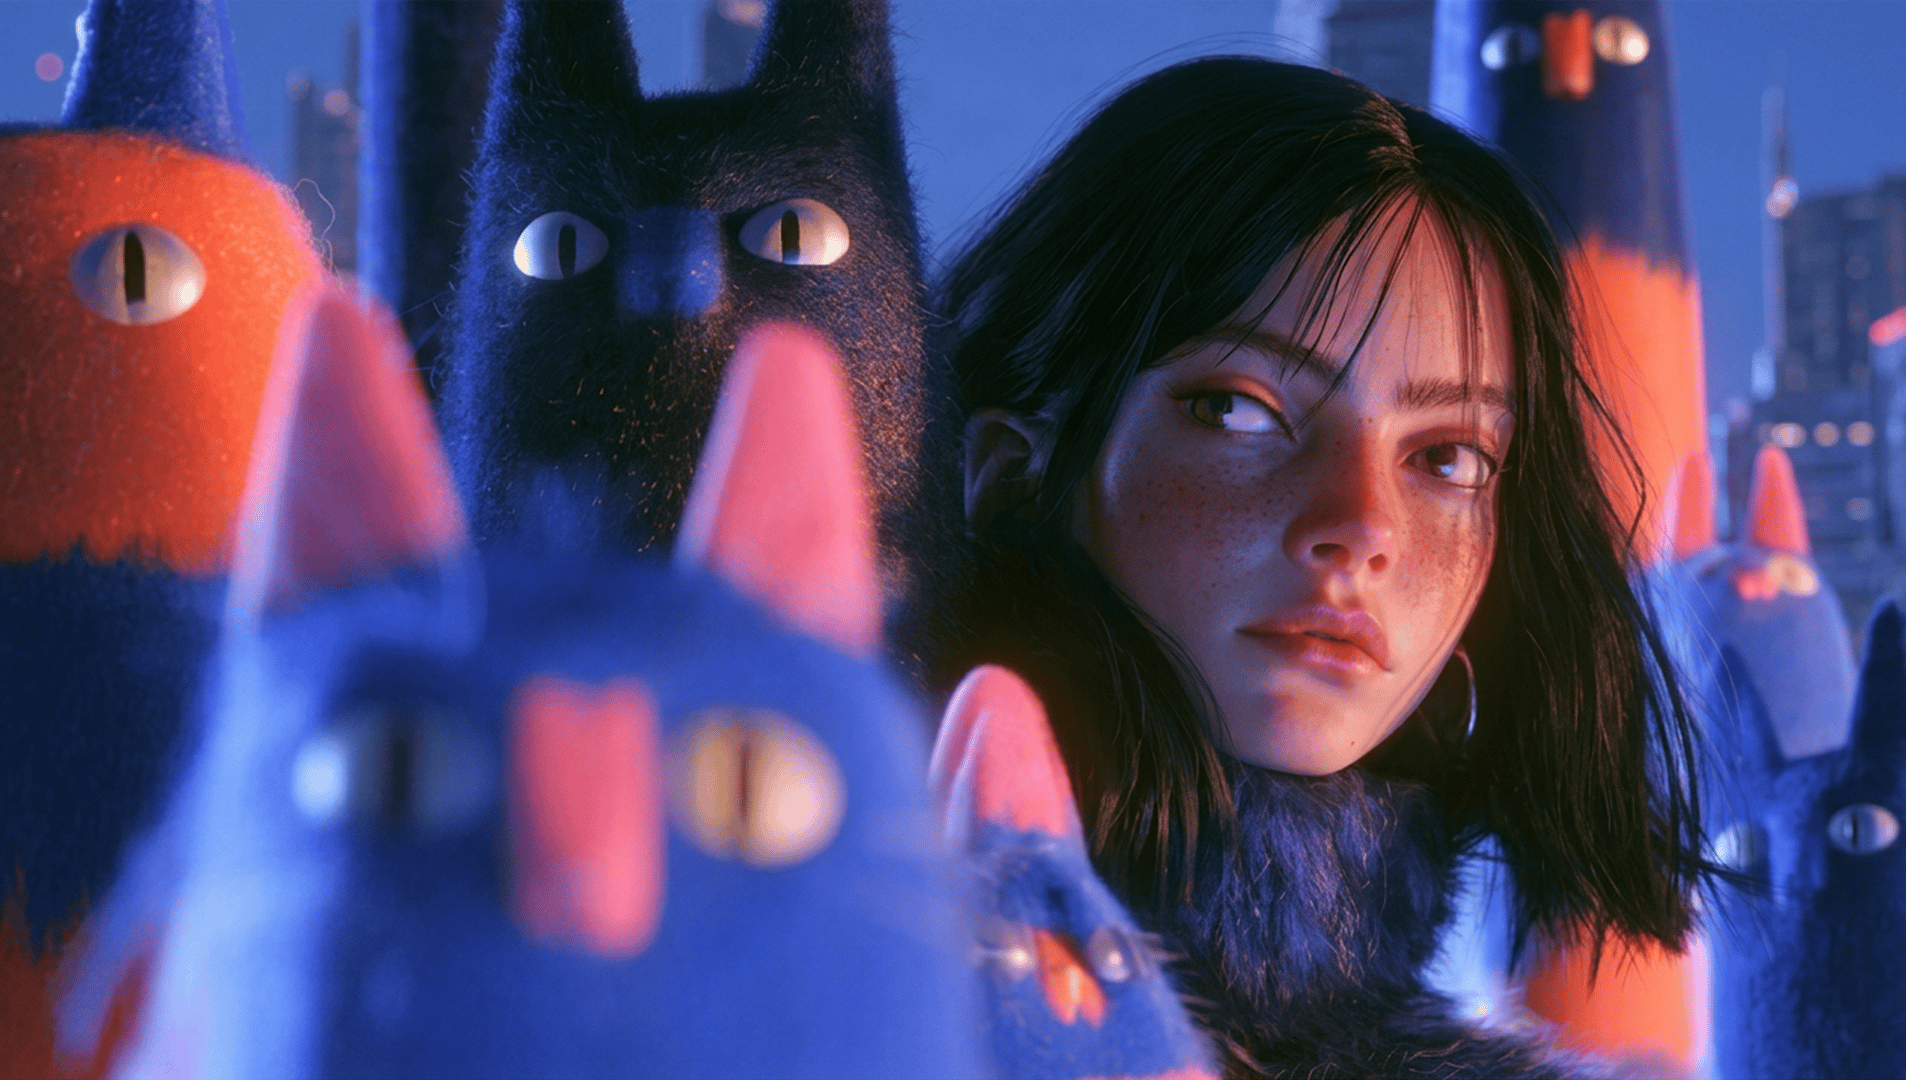
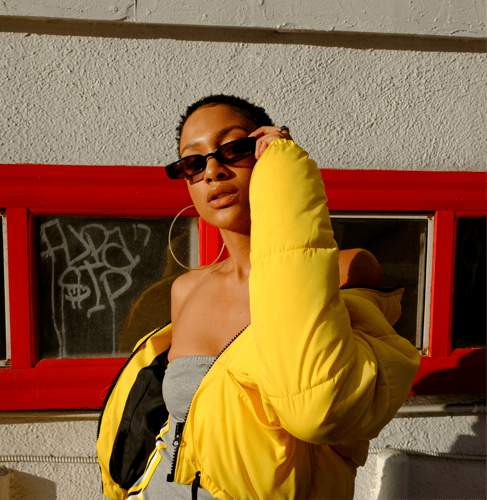
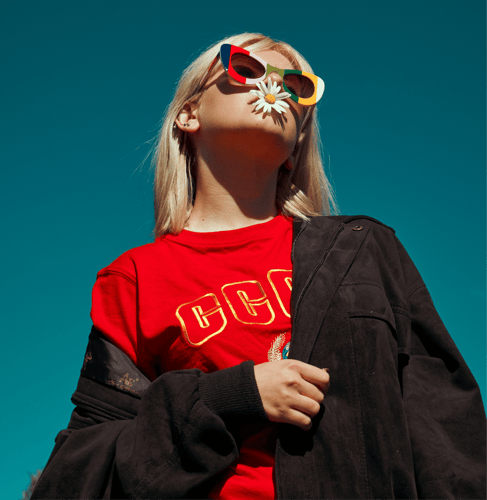
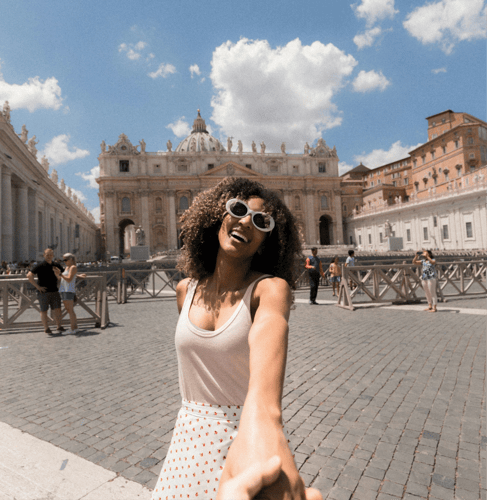
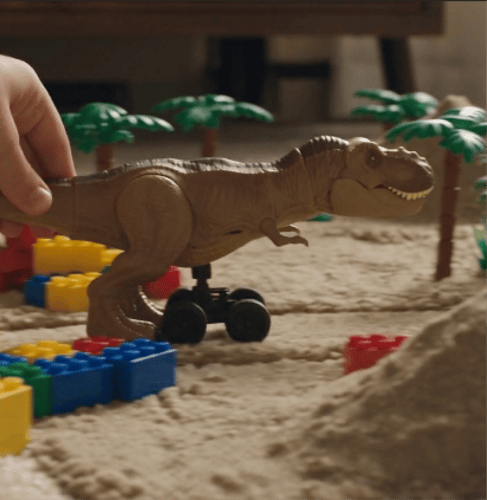
Move from visual exploration to a usable creative direction in one connected workspace.
BeforeAfterDevelop cinematic scenes, editorial concepts, imaginative worlds, and design treatments with clear direction for subject, setting, composition, and mood.
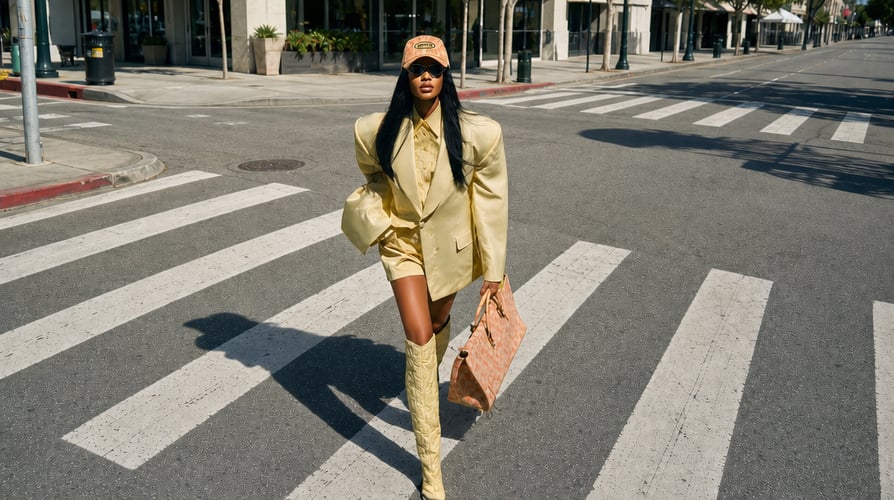
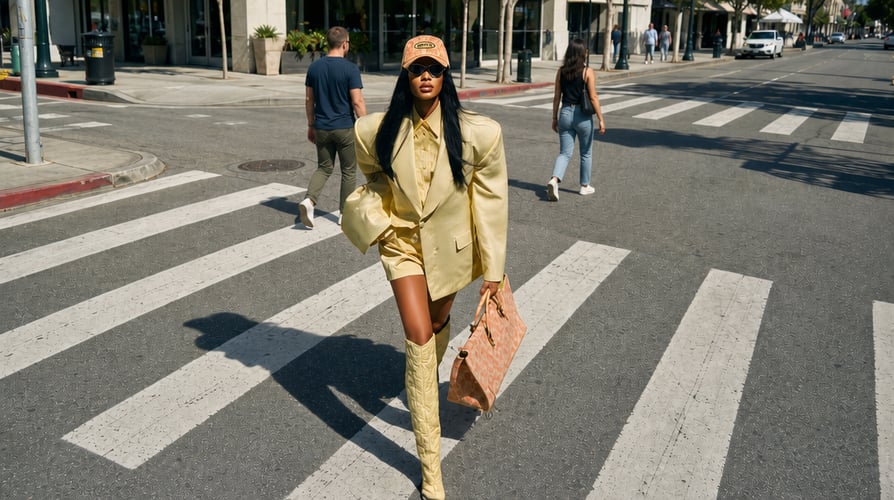 BeforeAfter
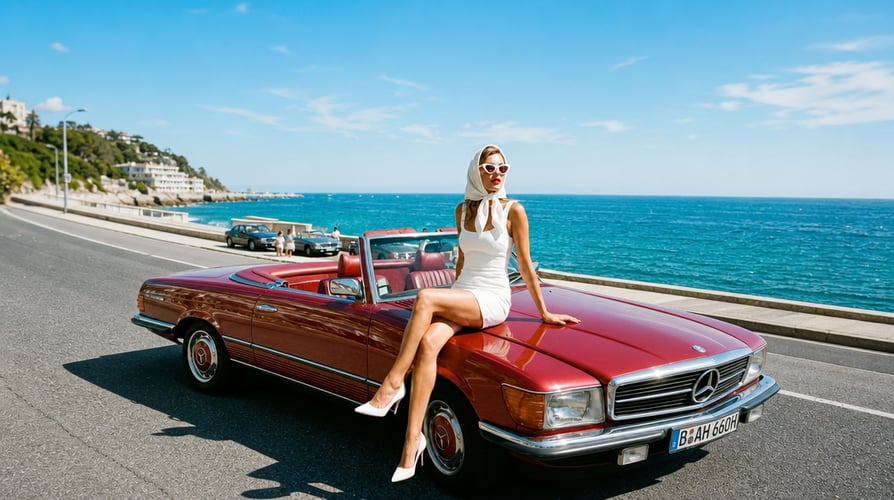
Use relevant visual references to communicate subject, composition, color, atmosphere, or the style language that should influence the result.
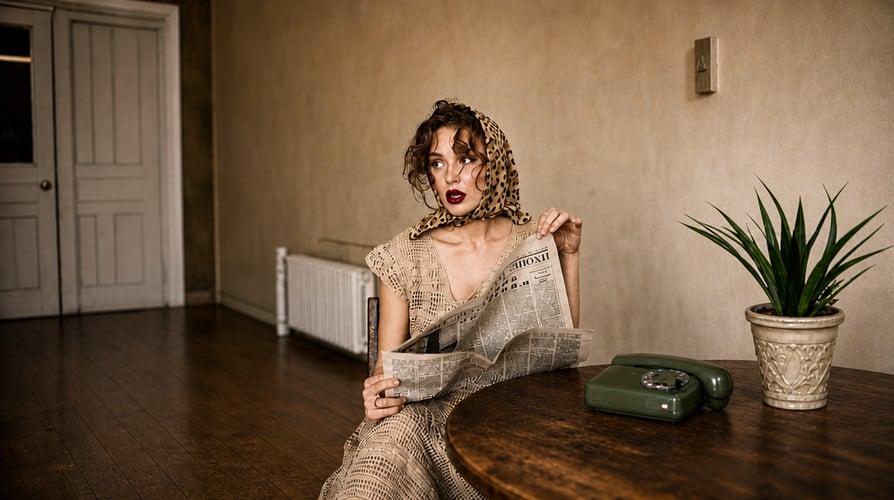
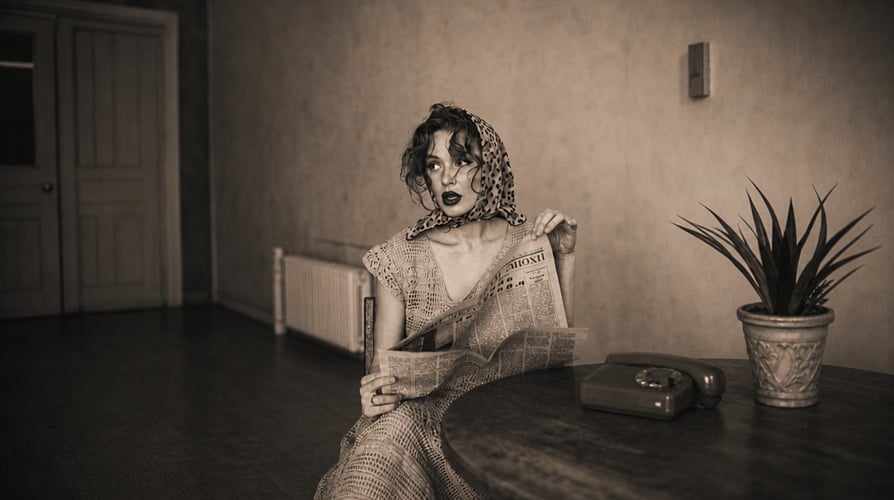 BeforeAfter
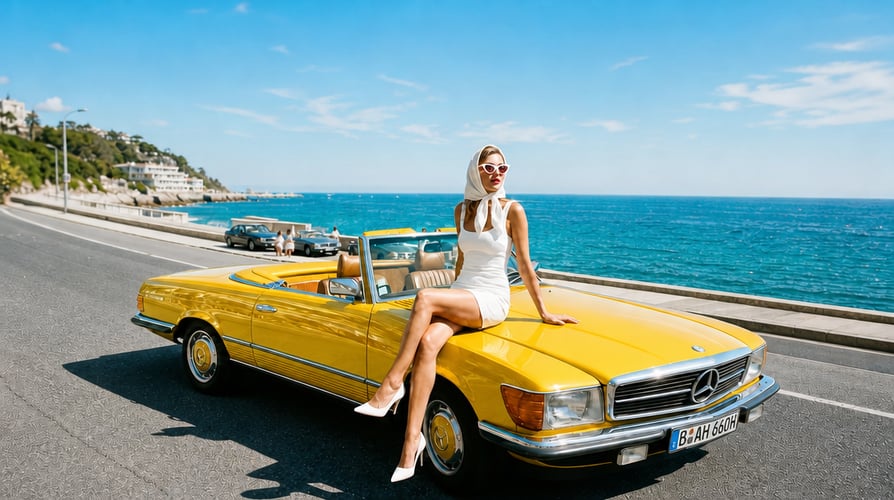
Reuse stable prompts, references, colors, compositions, and moods when several images need to belong to the same campaign or visual world.
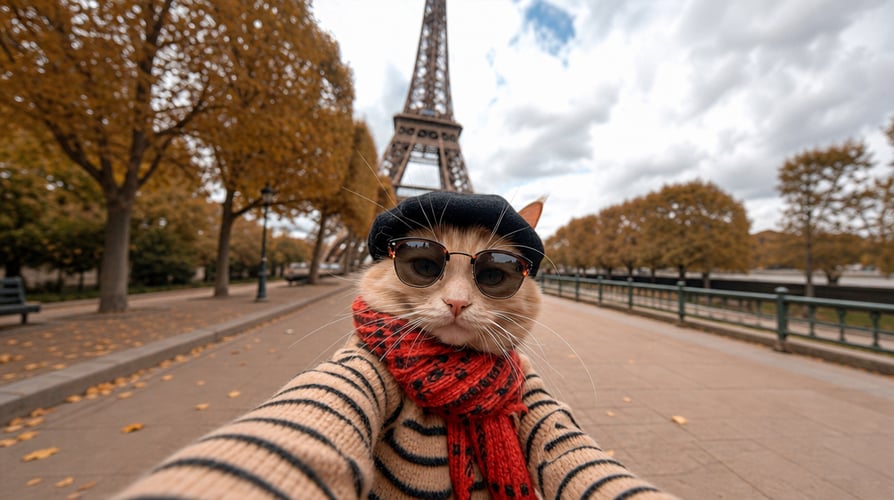
 BeforeAfter
Choose the strongest frame, then continue it in Buzzy with camera movement, subject motion, changing light, or a longer video sequence.
Go from a short brief to an image and a motion-ready key frame in three steps.
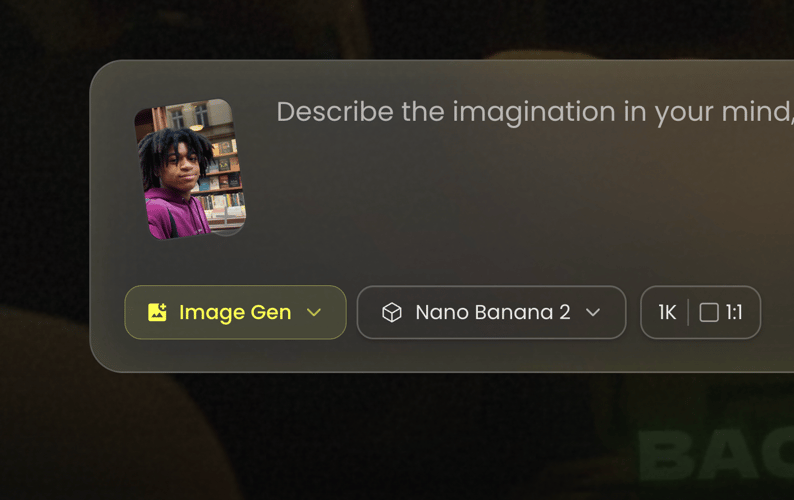 01
Choose the model, describe the subject, setting, and mood, or upload a reference that should guide the new image.
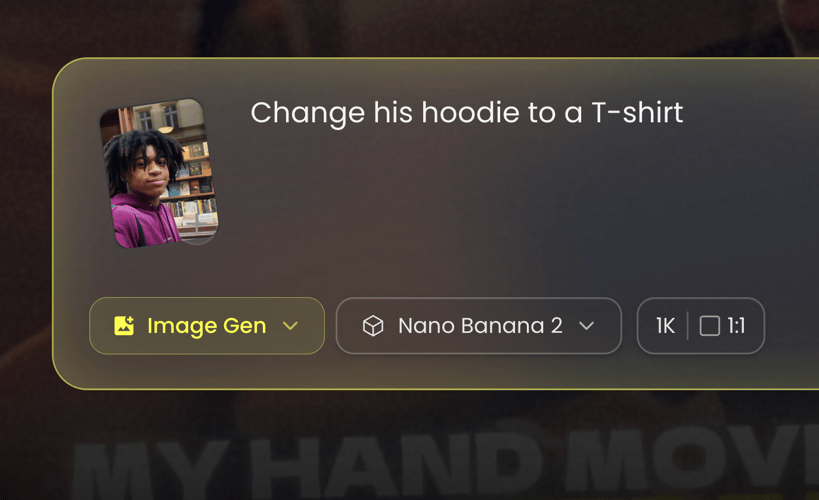 02
Compare the results and refine composition, lighting, palette, details, or visual style until one frame supports the project.
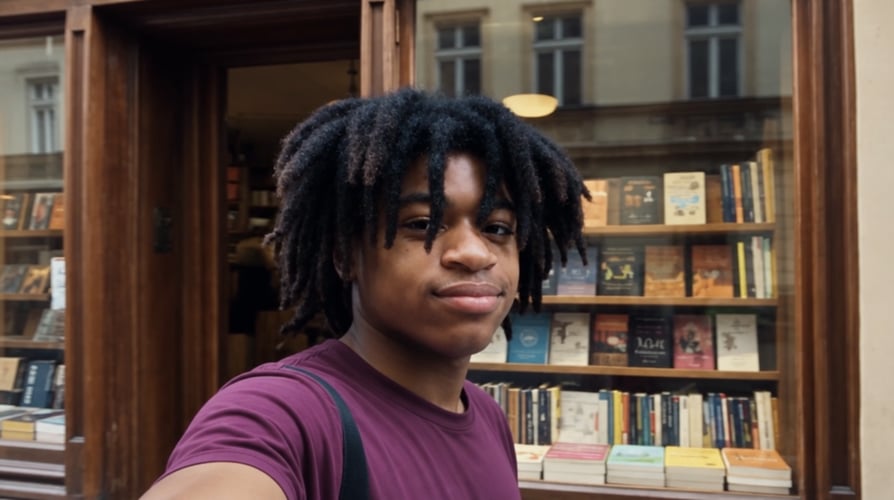 03
Use the selected image in Buzzy’s video tools and explain how the subject, camera, light, or environment should move.
Use each control to solve a specific visual decision rather than adding complexity to the prompt.
Describe the subject, environment, composition, lighting, material, and purpose of the image in direct language.
Add a reference when an existing subject, look, framing idea, color system, or design language should influence the result.
Specify the focal point, viewing distance, perspective, negative space, and placement needed for the final layout.
Guide color, lighting, texture, atmosphere, and finish so the image supports the intended emotional and editorial direction.
Keep recurring colors, compositions, moods, and references stable when a project needs a recognizable creative identity.
Define the traits, materials, silhouette, and details that need to remain recognizable across related visual studies.
Create connected concepts for covers, brand visuals, product imagery, social posts, treatments, and promotional materials.
Use an approved still as the visual anchor for a Buzzy video prompt that adds intentional motion without losing the core frame.
Start with the asset’s job, then choose the visual direction that helps it communicate.
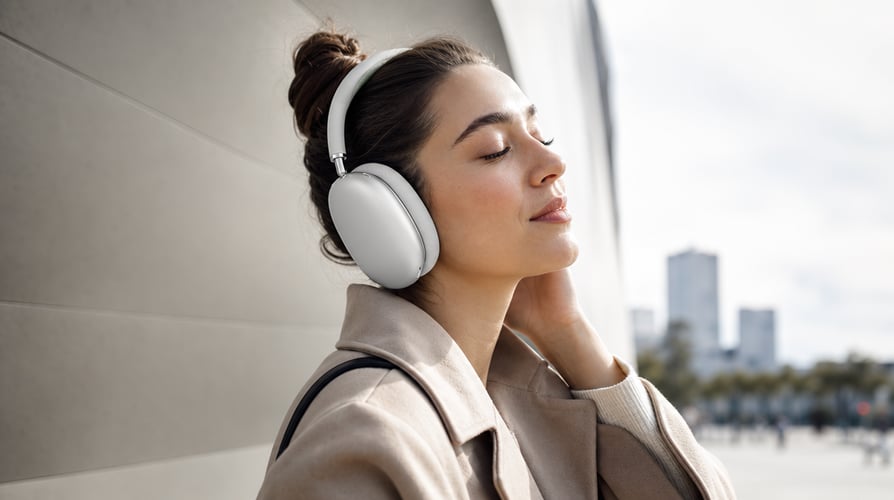
Explore hero imagery, campaign worlds, key visuals, and creative treatments before committing to a larger production.
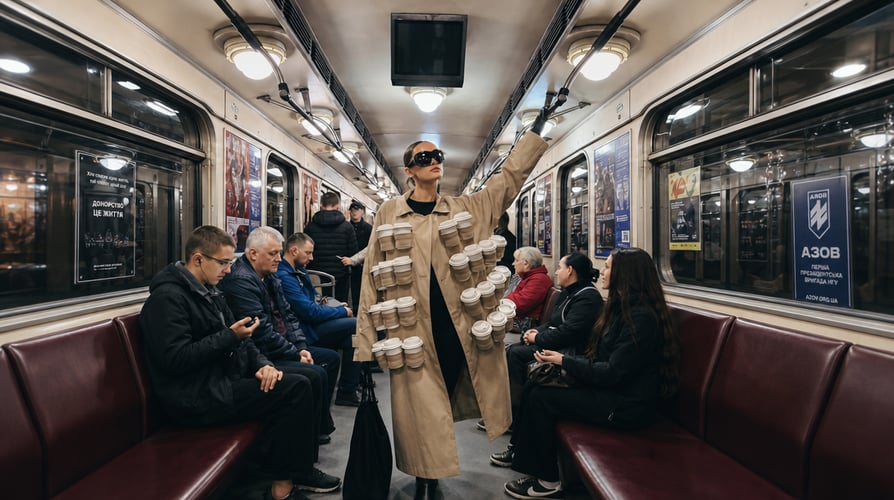
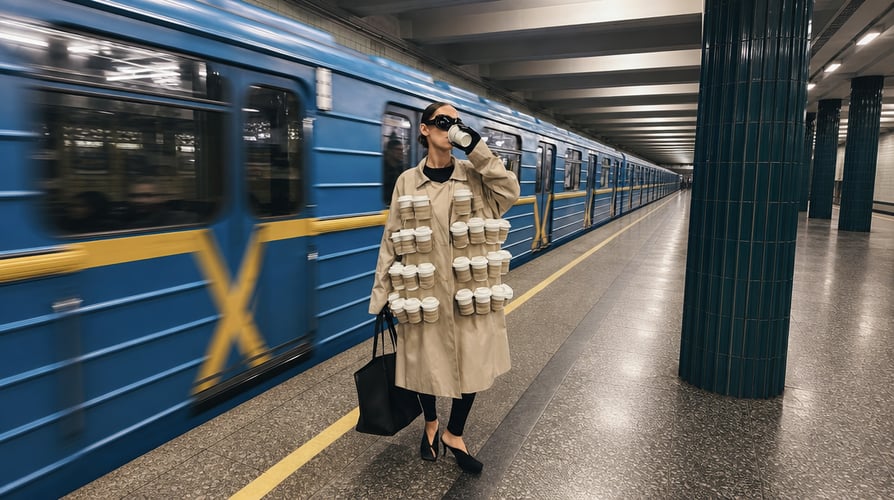
Develop wardrobe, styling, pose, location, lighting, and composition ideas for editorial and social content.
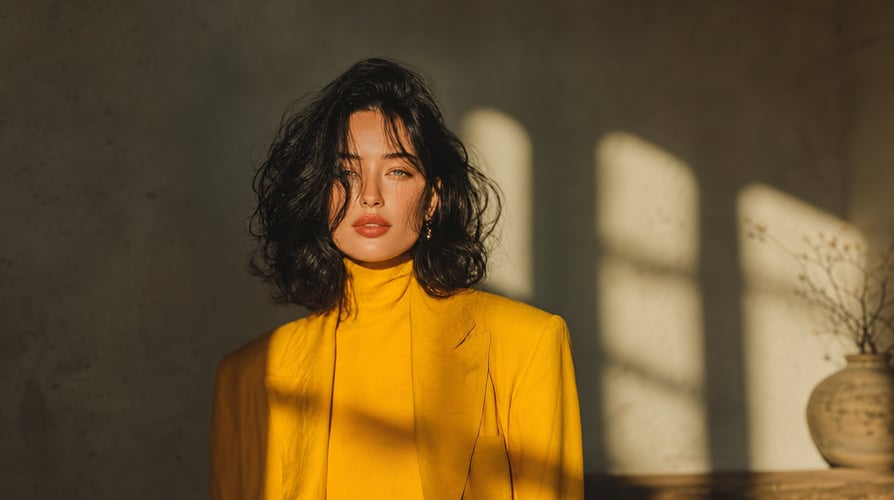

Create character studies, environment concepts, mood boards, and visual references for narrative or animation projects.
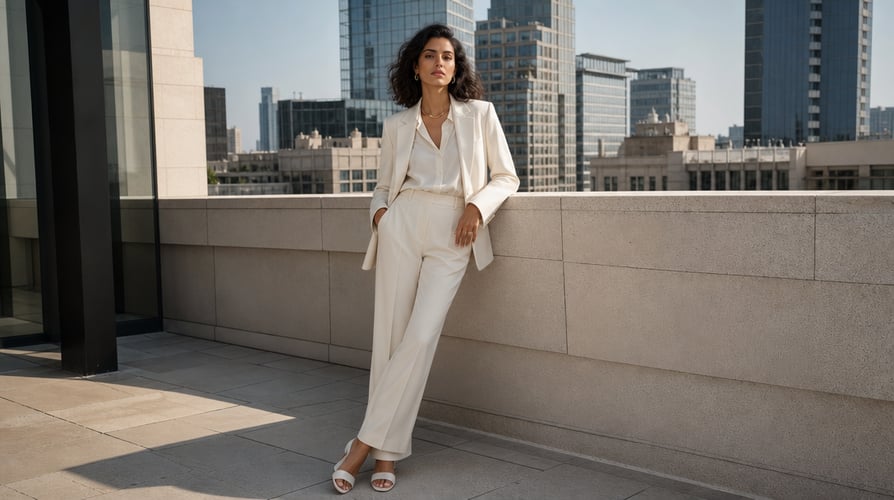
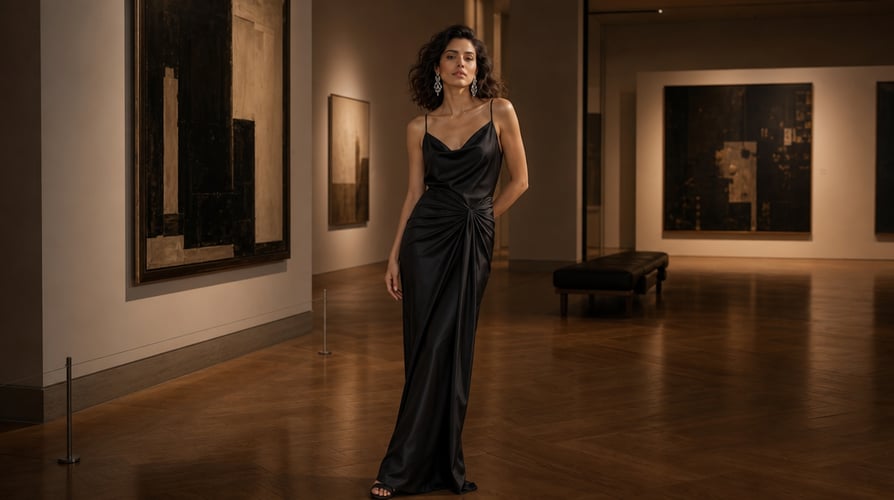
Design an establishing shot, dramatic moment, or transition frame that can guide a storyboard or become the start of a video.
Compare image workflows and continue approved visuals with Buzzy video models.
It is an AI image model focused on visual creation and aesthetic exploration. On Buzzy, you can begin from a prompt or supported reference input.
Choose the model, describe the image, add a reference when useful, generate, compare the outputs, and refine the direction you want to keep.
No. Start with the subject, setting, composition, and mood. Add lighting, materials, style, or camera language only when those details affect the result.
The current Buzzy page supports reference-led creation when that input is available in the workspace. Use only assets you have permission to upload.
Use it for campaign concepts, product imagery, fashion editorials, social assets, character designs, cinematic scenes, covers, and creative treatments.
Reuse stable references, descriptors, palette, lighting, and composition rules, then change only the subject or scene decision required for the next asset.
Yes. Select a finished image and continue it through a compatible Buzzy video workflow with clear subject and camera motion instructions.
Use the aspect ratio and output controls shown in the live workspace. Match the frame to the final placement before refining the composition.
Create a distinctive visual from a sentence or reference image, compare directions, and refine the frame that best fits your idea. Continue the selected image into Buzzy’s video workflow when the concept needs movement.
Compare this workflow with Nano Banana 2, GPT Image 2, and GPT Image 2.5, or browse the current Buzzy models.
AI image generation becomes easier to direct when the prompt has a job. A campaign concept needs room for brand copy and a recognizable product. A character study needs stable identity and readable design details. A cinematic key frame needs a clear subject, environment, and moment. Decide that purpose first, then use the prompt and references to build the visual evidence the image needs.
Midjourney is widely associated with aesthetic image creation, but “make it beautiful” is not a usable production brief. Visual quality is easier to review when the direction explains what the viewer should notice, how the frame is organized, and which details need to remain stable. Buzzy gives you a place to develop that image and continue the selected frame into a broader creative workflow.
Name the primary subject at the beginning of the prompt. Describe what the subject is doing, how it is framed, and where it appears. Add the environment, time of day, lighting, palette, materials, and atmosphere only after the main visual decision is clear.
This hierarchy helps prevent secondary style language from competing with the subject. A product shot should preserve product shape and recognizable markings. A portrait should keep the face, pose, and wardrobe priorities clear. An environment concept should explain scale, viewpoint, and the relationship between foreground and background.
Composition is not only a finishing detail. It determines whether the image can work as a cover, hero, poster, storyboard frame, or social asset. Explain the viewing distance, perspective, focal point, and negative space. If text will be added later, reserve a clean area in the frame. If the image will become video, avoid a composition that leaves no room for the planned movement.
Choose the aspect ratio for the destination before approving the design. A widescreen cinematic image can establish more environment. A vertical image needs tighter subject placement and mobile-safe detail. A square image needs a strong focal hierarchy because it has less directional space.
A reference image is useful when words alone would not communicate the subject, color system, framing, or visual language. Explain what the reference should influence. One image may define a product, another may suggest lighting, and a third may show composition. Do not expect the system to understand an unspoken hierarchy among several unrelated examples.
Use a small number of coherent references. When the references disagree about perspective, palette, materials, or subject identity, the generated direction becomes harder to evaluate. The reference set should reduce uncertainty, not create another layer of it.
For a campaign or series, record the decisions that make the visual direction recognizable. These may include palette, contrast, lighting direction, lens language, composition, texture, and recurring subject details. Reuse that system while giving each image a different role.
Consistency does not require identical frames. A project can include a wide hero image, editorial portrait, product detail, environment shot, and social crop. The shared visual language connects them, while the change in framing gives each asset a practical purpose.
Review the first results against the brief. If the subject is right but the image feels visually flat, change lighting or composition. If the style is strong but the product is inaccurate, strengthen the product reference and simplify competing details. If the frame is compelling but unusable for layout, revise subject placement and negative space.
Change one meaningful decision at a time. Controlled iteration makes it easier to preserve the strongest parts of the image and identify which instruction improved the result. Completely rewriting the prompt after every generation can turn a coherent project into unrelated experiments.
An approved Midjourney image can function as a key frame for a Buzzy video project. Before generating motion, decide what should remain stable and what should change. The character, product, environment, or style may need to stay recognizable while the camera pushes in, the subject turns, light moves through the scene, or the environment becomes active.
Write subject motion separately from camera motion. “The coat moves gently in the wind while the camera tracks from left to right” is easier to direct than a collection of cinematic adjectives. Use the still image as the visual anchor and the motion prompt as the timeline.
Inspect anatomy, hands, repeated details, logos, typography, product markings, background logic, and the relationship between the subject and environment. Confirm that uploaded references are yours or that you have permission to use them. If the image depicts a real person, brand, or protected property, follow the relevant approval process before publishing.
The model can accelerate exploration, but final creative judgment still belongs to the person reviewing the asset. The useful output is not simply the most striking image; it is the image that performs the intended role and can continue into the next stage of the project.
Build the image that defines the visual direction, refine the frame, and take the approved concept into motion with Buzzy.